The Basics of Drawing Hands: For Beginners
- Kira Wootton
- Feb 23, 2024
- 3 min read
Updated: Mar 29, 2024
Hands are one of the hardest body parts to draw, as you'll clearly see with some of my attempts. The easiest way I've learned to draw hands, specifically palms, is by using a method that sections out each piece of the hand. I also used a tutorial to help me with the structure, so check it out at the bottom of this blog!

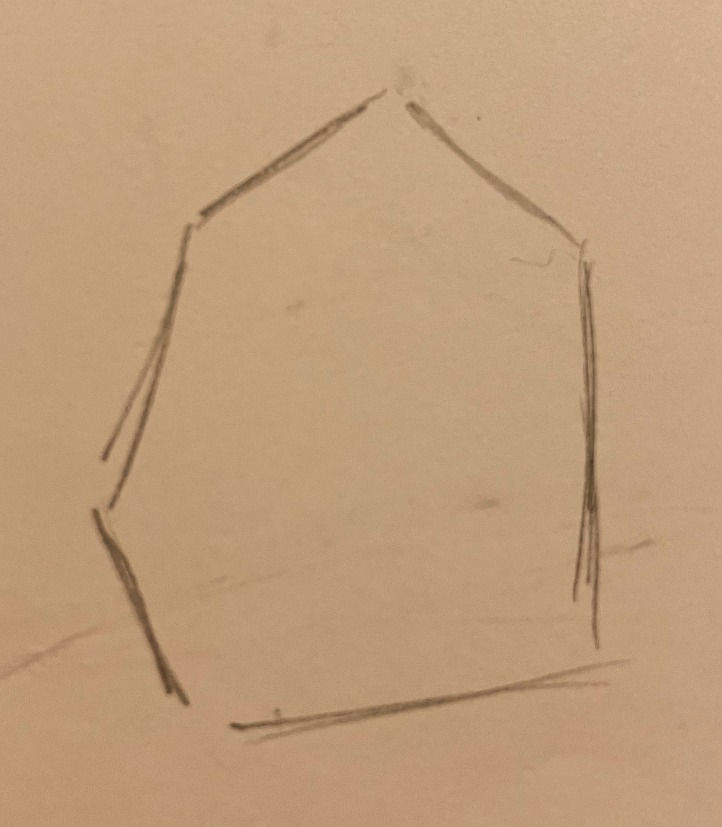
1. Start with a hexagon type shape
Start the drawing out with an irregular hexagon. Have the bottom be a straight line and the left line (where the pinky will go) be straighter. On the side where the thumb will be, add two lines with the smaller one being closer to the bottom of the palm. The top two lines are almost a roof shape. They have similar angles.
Don't worry about perfecting this shape too much because it may change a bit when you continue sketching. Mine became a little smaller and you'll see that in step 3.

2. Add the fingers
The fingers go off the angle of the top line. Usually, you connect the finger once they reach the top line, but you can adjust it once you're done. Try to keep a triangular space between each finger. The biggest finger should be the middle finger and the smallest should be the pinky. Make sure you curve the top of the lines for the points of the fingers.

3. Add the curves
The fingers have curves to separate the different portions. In order to do this, create three separate sections on each finger. Have them curve in a similar angle that the base of the fingers does as well. Also, it's totally okay to erase and edit the shapes. In this step, I change the base of my shape to be a bit to be smaller in order to fit the proportions of the fingers. Also, ignore the thumb shape. It just wasn't working so I tried to do it again in another step.

4. Add the thumb
The thumb is the hardest finger for me as it has a curve to it that is hard to understand and truly capture. The thumb starts at the bottom line on the left and goes into the middle part of the upper line. These lines will help guide you on where to end the thumb. I also add the first line on the palm that reflects where the thumb ends. The thumb is naturally angled inwards, so the top of the thumb isn't symmetrical.

5. Add the palm lines
I did add the thumb curves as well in this step, so keep that in mind. The thumb curves aren't too difficult, but I like added a bigger and thicker line at the spot where the thumb begins to combine with the palm. I also added a little bump to the base of the thumb. I based my palm lines off of my own hands. It's not necessary to add all the lines on your palms, but it's nice to add a couple of them in order to add a more realistic palm.

6. Add a wrist
This is the last step! I erased the original lines for the base of the fingers and curved the line that connected with the wrist. Then I added the curve from the wrist and connected it to the base of the palm. The wrist is smaller closer to the palm and then gets larger as the arm continues.
Drawing hands can be super difficult! Don't give up on yourself if you don't get it your first time. I'm still not 100% happy with this sketch, but that just means I'm learning and still have progress to make! And that's not a bad thing. Doing sketches like these is more about learning what you need to work on than doing it perfectly. So go out and make some art with heart!
If you want to follow along to the tutorial I'm using, watching this video! https://youtube.com/shorts/0R0gXO8-WeI?si=ADulI6pifPUNtr_U


Comments